
Compare receiver specifications under matching test conditions, then check the antenna, power supply, protocol and production requirements of the finished product.
Reading mapArticle sections10 sections
A receiver can work well as a loose sample and behave differently once it is fitted to a production board and enclosed. Range may fall, commands may be missed, or results may vary between units. The module deserves investigation, but so do its antenna, supply, firmware configuration and installation.
Before choosing a module, agree on the operating conditions and the result the finished product must achieve. These ten checks turn a promising data sheet into a selection record that an engineer, buyer and production team can use.
The useful specification is the one you can reproduce in the intended product, with the intended transmitter and a defined acceptance test.
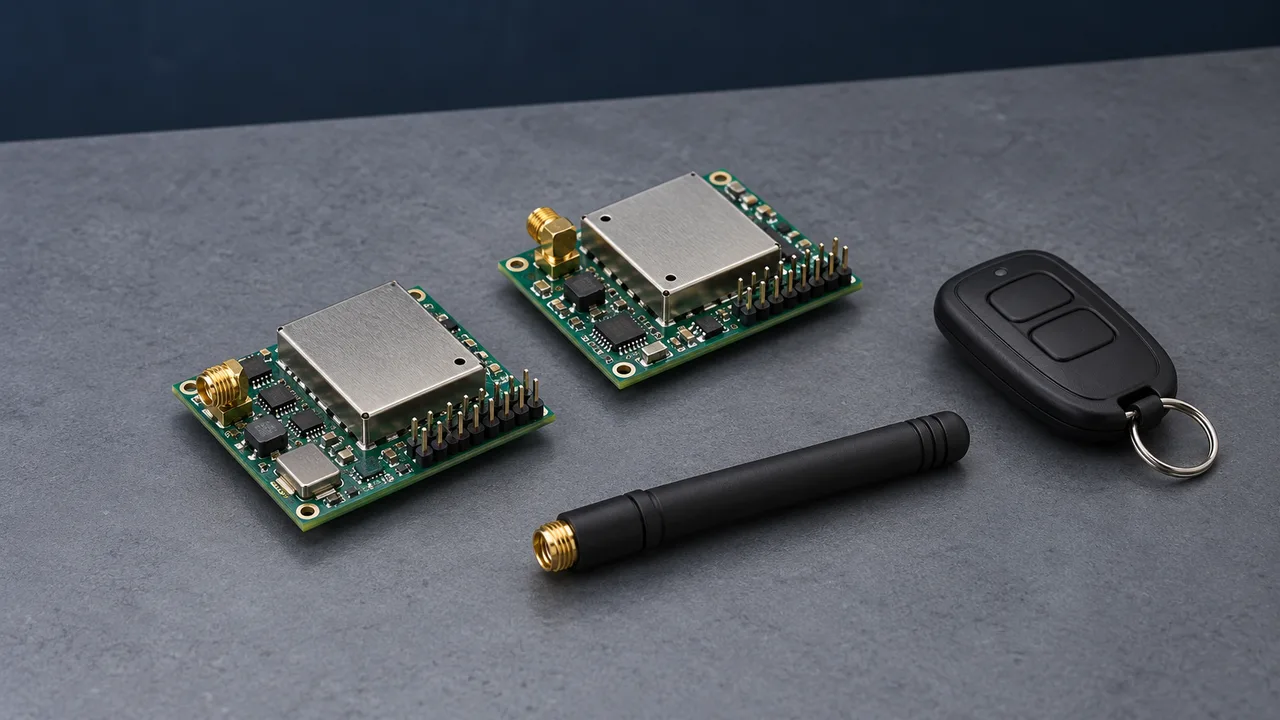
Operating Band and Channel Plan
433 MHz, 868 MHz, 915 MHz and 2.4 GHz are familiar radio labels. Specify the exact channel, supported tuning range and required transmitter compatibility. A regional band name is not permission to use every channel, output power or transmission pattern within it.
Confirm the destination market and applicable limits before fixing the radio design. Frequency also affects antenna dimensions and propagation, but a lower band does not guarantee better penetration or range in every building. Antenna efficiency, enclosure materials, obstacles and interference can change the comparison.
Include frequency tolerance over temperature and production variation. A nominally matching transmitter and receiver can still have enough offset to compromise a narrow receive channel.
Sensitivity and Its Test Conditions
Sensitivity is the minimum input level at which the receiver meets a stated decoding criterion. A −100 dBm threshold is 10 dB lower than −90 dBm, but that comparison is useful only when the test conditions match. It does not directly establish a usable operating distance.
- Compare frequency, modulation, data rate, receive bandwidth and coding settings.
- Record the bit-error or packet-error criterion, packet length and test method.
- Distinguish a typical value from a guaranteed limit, and note supply voltage and temperature.
- Identify the measurement reference: a conducted module input or an over-the-air result with a particular antenna.
TI’s CC1101 data sheet reports sensitivity with configuration and packet-error conditions. Use that level of detail when asking a supplier for a comparison. Our receiver sensitivity guide explains why a headline dBm number cannot stand in for a range test.
Noise Figure, Selectivity and Blocking
Noise figure describes how much a receiver degrades the signal-to-noise ratio through noise added by its own circuitry. Lower noise figure can help weak-signal performance when the rest of the configuration is comparable. It does not tell you how well the receiver rejects an unwanted transmitter.
For a busy industrial location, also ask about adjacent-channel selectivity, blocking and intermodulation. A strong unwanted signal can reduce sensitivity or overload part of the receive chain. Analog Devices’ discussion of receiver noise distinguishes weak-signal sensitivity from high-level blocking requirements.
Receiver Channel Bandwidth
Receiver bandwidth must accommodate the transmitted waveform and the expected frequency error. Widening it generally admits more noise; narrowing it too far can cut into the wanted signal or reject a transmitter that has drifted away from the channel center.
Choose bandwidth together with modulation, occupied spectrum, data rate and oscillator tolerance at both ends. TI’s frequency-offset application note explains the interaction between receive filtering and crystal accuracy. Check the configured bandwidth rather than assume that the module’s advertised maximum rate defines the setting you will use.
On-Air Data Rate and Timing
A remote command may have a small payload, but its airtime also includes preamble, synchronization, addressing, checks and any repeated frames. Define the complete message and the response time the user needs, then choose a supported data rate.
A lower rate can improve sensitivity in some configurations, while a higher rate can shorten airtime. Neither is automatically more reliable. Longer transmissions occupy the channel for longer; higher rates may require different filtering, modulation settings and host processing. Validate the selected combination with the intended protocol.
Do not confuse a UART baud rate with the on-air rate. Confirm buffering, wake-up delay and the time from button press to accepted command. A receiver-only module cannot send an acknowledgment; that feature requires a return transmitter and a protocol that uses it.
Transmitter Power and Link Margin
Select the receiver alongside the transmitter. Start with the transmitter’s conducted output, both antenna gains, path loss and other losses. Compare the estimated level at the receiver input with its required sensitivity under the selected conditions.
Keep the reference planes consistent. If transmit power is already expressed as EIRP, do not add transmit antenna gain again. Account for cable, mismatch and enclosure effects without counting the same loss twice.
A positive calculated margin is only a starting point. Choose a reserve for the actual fading, orientation, obstructions and reliability target; 10 dB is not a universal pass criterion. Evaluate the required distance at supply and temperature corners, then verify the estimate in the installation. A quiet-link budget does not prove performance during interference.
Antenna Interface and Matching
Many modules provide a nominal 50 Ω antenna port, but raw radio-chip pins may require a different matching network or a balanced connection. Establish what interface the module actually exposes before selecting an antenna or routing the board.
- Identify the exact connector, solder pad or integrated-antenna arrangement and its reference impedance.
- Follow the module’s RF trace, ground-plane and antenna keep-out requirements.
- Check antenna efficiency and tuning with the final enclosure, wiring and nearby metal in place.
- Use a matching network where the design requires it, and choose its values from measurements rather than a generic template.
An antenna with a good impedance match can still radiate or receive poorly because of loss or its radiation pattern. TI’s antenna selection guide covers matching, efficiency and integration considerations. Validate the complete installed antenna, including its cable if it has one.
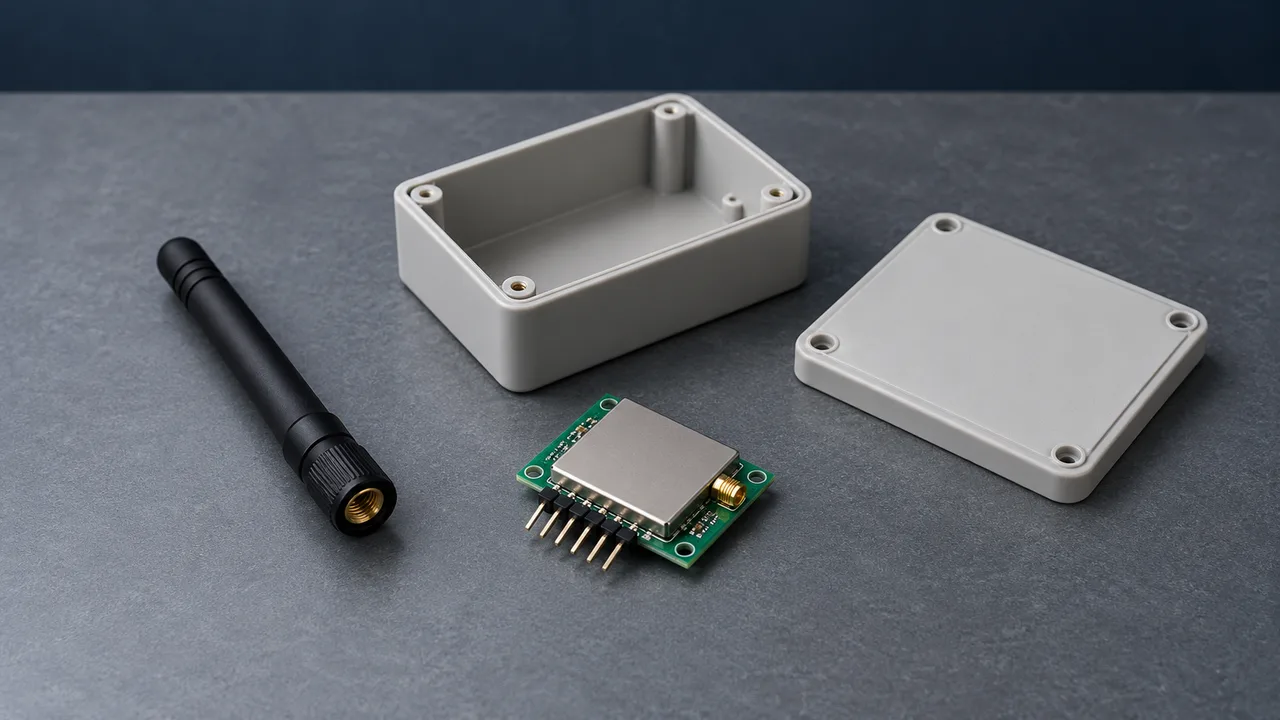
Supply, Current and Operating Corners
Confirm the recommended supply range, receive current, startup peaks and any transmit current if the device is a transceiver. Also check host-interface voltage levels, startup sequencing and the required decoupling. Absolute maximum ratings are damage limits, not normal operating settings.
Measure the supply at the module during relevant operating events. Motor switching, relay transitions or a shared regulator can expose voltage dips and noise that a steady bench supply does not. Check operation at both hot and cold temperature limits, including oscillator drift and startup behavior.
For a battery-powered receiver, budget the complete duty cycle rather than quote sleep current alone. An always-listening receiver spends its time in receive mode. A sleeping receiver needs a compatible wake-up or polling strategy; otherwise it may miss a short command while its radio is off.
Protocol, Enrollment and Host Interface
Establish whether the module delivers a raw data stream, decoded packets or ready-to-use control outputs. A radio chip supporting a modulation format does not automatically implement a finished remote-control protocol. Document which functions belong in the module firmware and which belong in the host controller.
- Match frequency, modulation, message timing and the complete coding protocol to the transmitter.
- Define enrollment, capacity, individual deletion and any rolling-code key or synchronization requirements.
- Separate error detection from security: CRC can detect corrupted data, but does not authenticate a sender or prevent replay.
- Specify addressing, group commands, duplicate handling and the intended behavior after a lost message.
- If acknowledgments and retries are required, confirm two-way hardware, timing and collision handling. Receipt of a packet does not confirm physical action.
- Confirm the electrical and software interface, configuration access, firmware support and development documentation.
For multiple devices sharing a channel, use the RF collision guide to distinguish stored identities from channel access. Receiver memory capacity says how many entries can be enrolled, not how many overlapping messages can be decoded.
Compliance Evidence and Production Supply
Ask for evidence that applies to the exact module, configuration and destination market. CE marking, FCC authorization and RCM obligations are different systems. A receive-only module and a module that also transmits can have different assessment requirements; a logo on a data sheet is not a complete product compliance record.
The European Commission’s CE guidance places conformity assessment, technical documentation and the declaration of conformity with the manufacturer. For a US product incorporating a certified transmitter module, FCC integration guidance addresses the host manufacturer’s responsibilities. ACMA’s supplier guidance describes Australian records, registration and labeling obligations. Confirm what remains to be assessed for the final product and its antenna configuration.
- Record the approved module revision, firmware, RF configuration and antenna arrangement.
- Agree on incoming and production tests, acceptance limits and lot traceability. A good sample does not establish batch consistency.
- Confirm lead times, forecast quantities, component-change notices and end-of-life support with the supplier.
- Include assembly yield, test time, rework and integration effort in the cost comparison.
Our receiver-controller testing guide can help define a verification plan. Keep production screening separate from design validation: checking every unit for basic function cannot substitute for validating range, interference behavior and operating corners.
The strongest headline specification is not always the best production choice. Select a configuration that meets the application’s measurable requirements and can be built, tested and supplied consistently. Write down the assumptions before approving samples.
For a receiver-module or RF controller inquiry with Dongguan Fengxian Electronics Technology Co., Ltd., share the destination market, transmitter model or protocol, required range and response time, installation environment, supply and enclosure constraints. Include the expected quantities and the checks already completed. These details provide a starting point for confirming the proposed hardware and sample-validation plan.
Use the RF question form below to open an email draft. Review it and attach any relevant specifications or label photos in your email app before sending.

About the Author
Eric Huang
RF Remote Controls & Controllers Specialist
I work with trade buyers on custom RF remote and controller projects, automotive remote requests and aftermarket gate and garage remote sourcing. These guides help you define product requirements and plan sample checks before ordering.
Share your application or original system, target market and question to discuss the next steps.
Keep reading
Related articles
Receiver Sensitivity: Compare the Test Conditions
Read a sensitivity figure with its waveform, bandwidth and error target, then test whether receiver performance is limiting the installed link.
Read next RF EngineeringWireless Receiver Controller Factory Tests: Sensitivity, Functions and Burn-In
Separate receiver sensitivity from production screening, verify every defined control function, and set clear powered-test and retest conditions before release.
Read next RF EngineeringRF Remote Collisions: Check the Hardware and Protocol
Separate one-way repetition from receive-capable channel sensing and two-way acknowledgments, then test command overlap and duplicate handling.
Read nextDiscuss Your Project or Replacement
Share your application or original system and your question to discuss the next step.
RF questions by email
Ask Eric About Your Remote or Receiver
Describe your remote or receiver, the issue and what you have already tried. Add model details and your country if available.
Opens a draft in your email app. Review it, attach any photos and send your message.